Overnight Buckwheat Porridge (Gluten-Free, Great source of Protein, Fiber and healthful Complex Carbohydrates)

I discovered this recipe from a Food Blogger in YouTube. I did make some changes on her recipe according to how I want my porridge to be. My daughter loves chia pudding so instead of blending the chia with the softened buckwheat groats, I soaked the chia seeds with unsweetened Almond Milk overnight and mixed it with the porridge in the morning to give some dimension to my creamy morning porridge.

Here’s my simple recipe for a 2-serving Overnight Buckwheat Porridge.

INGREDIENTS:

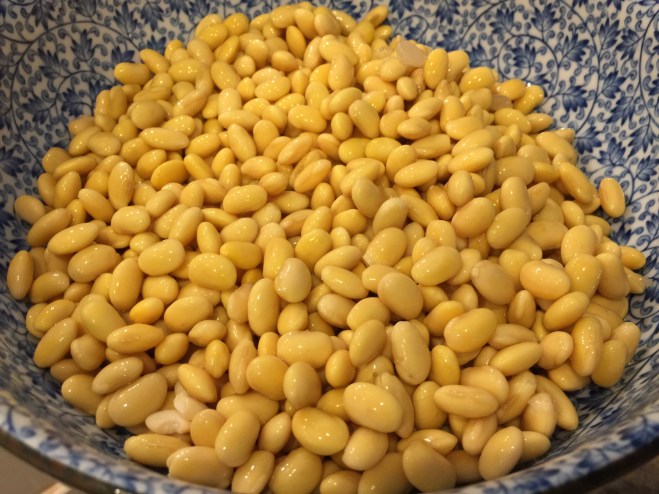
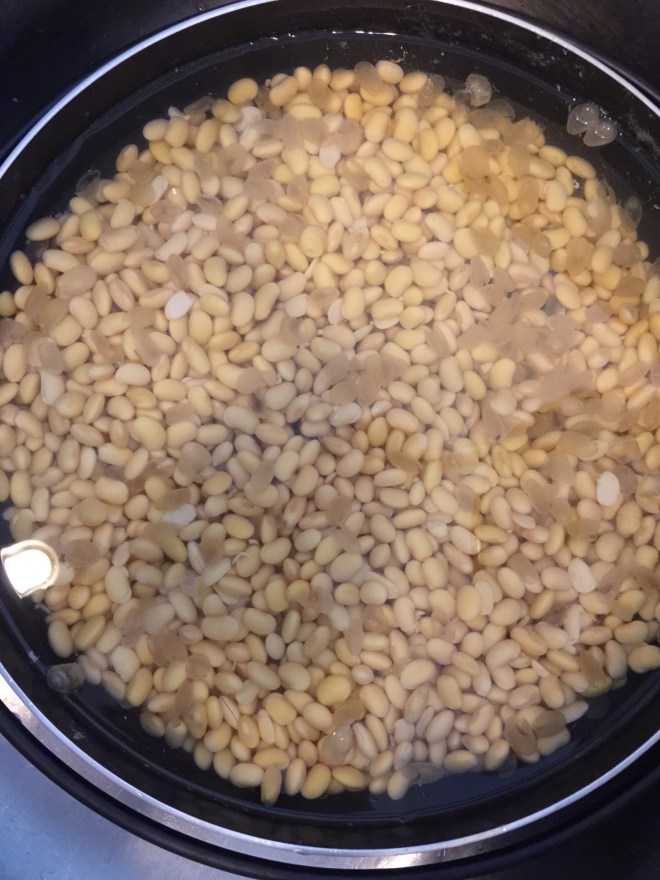
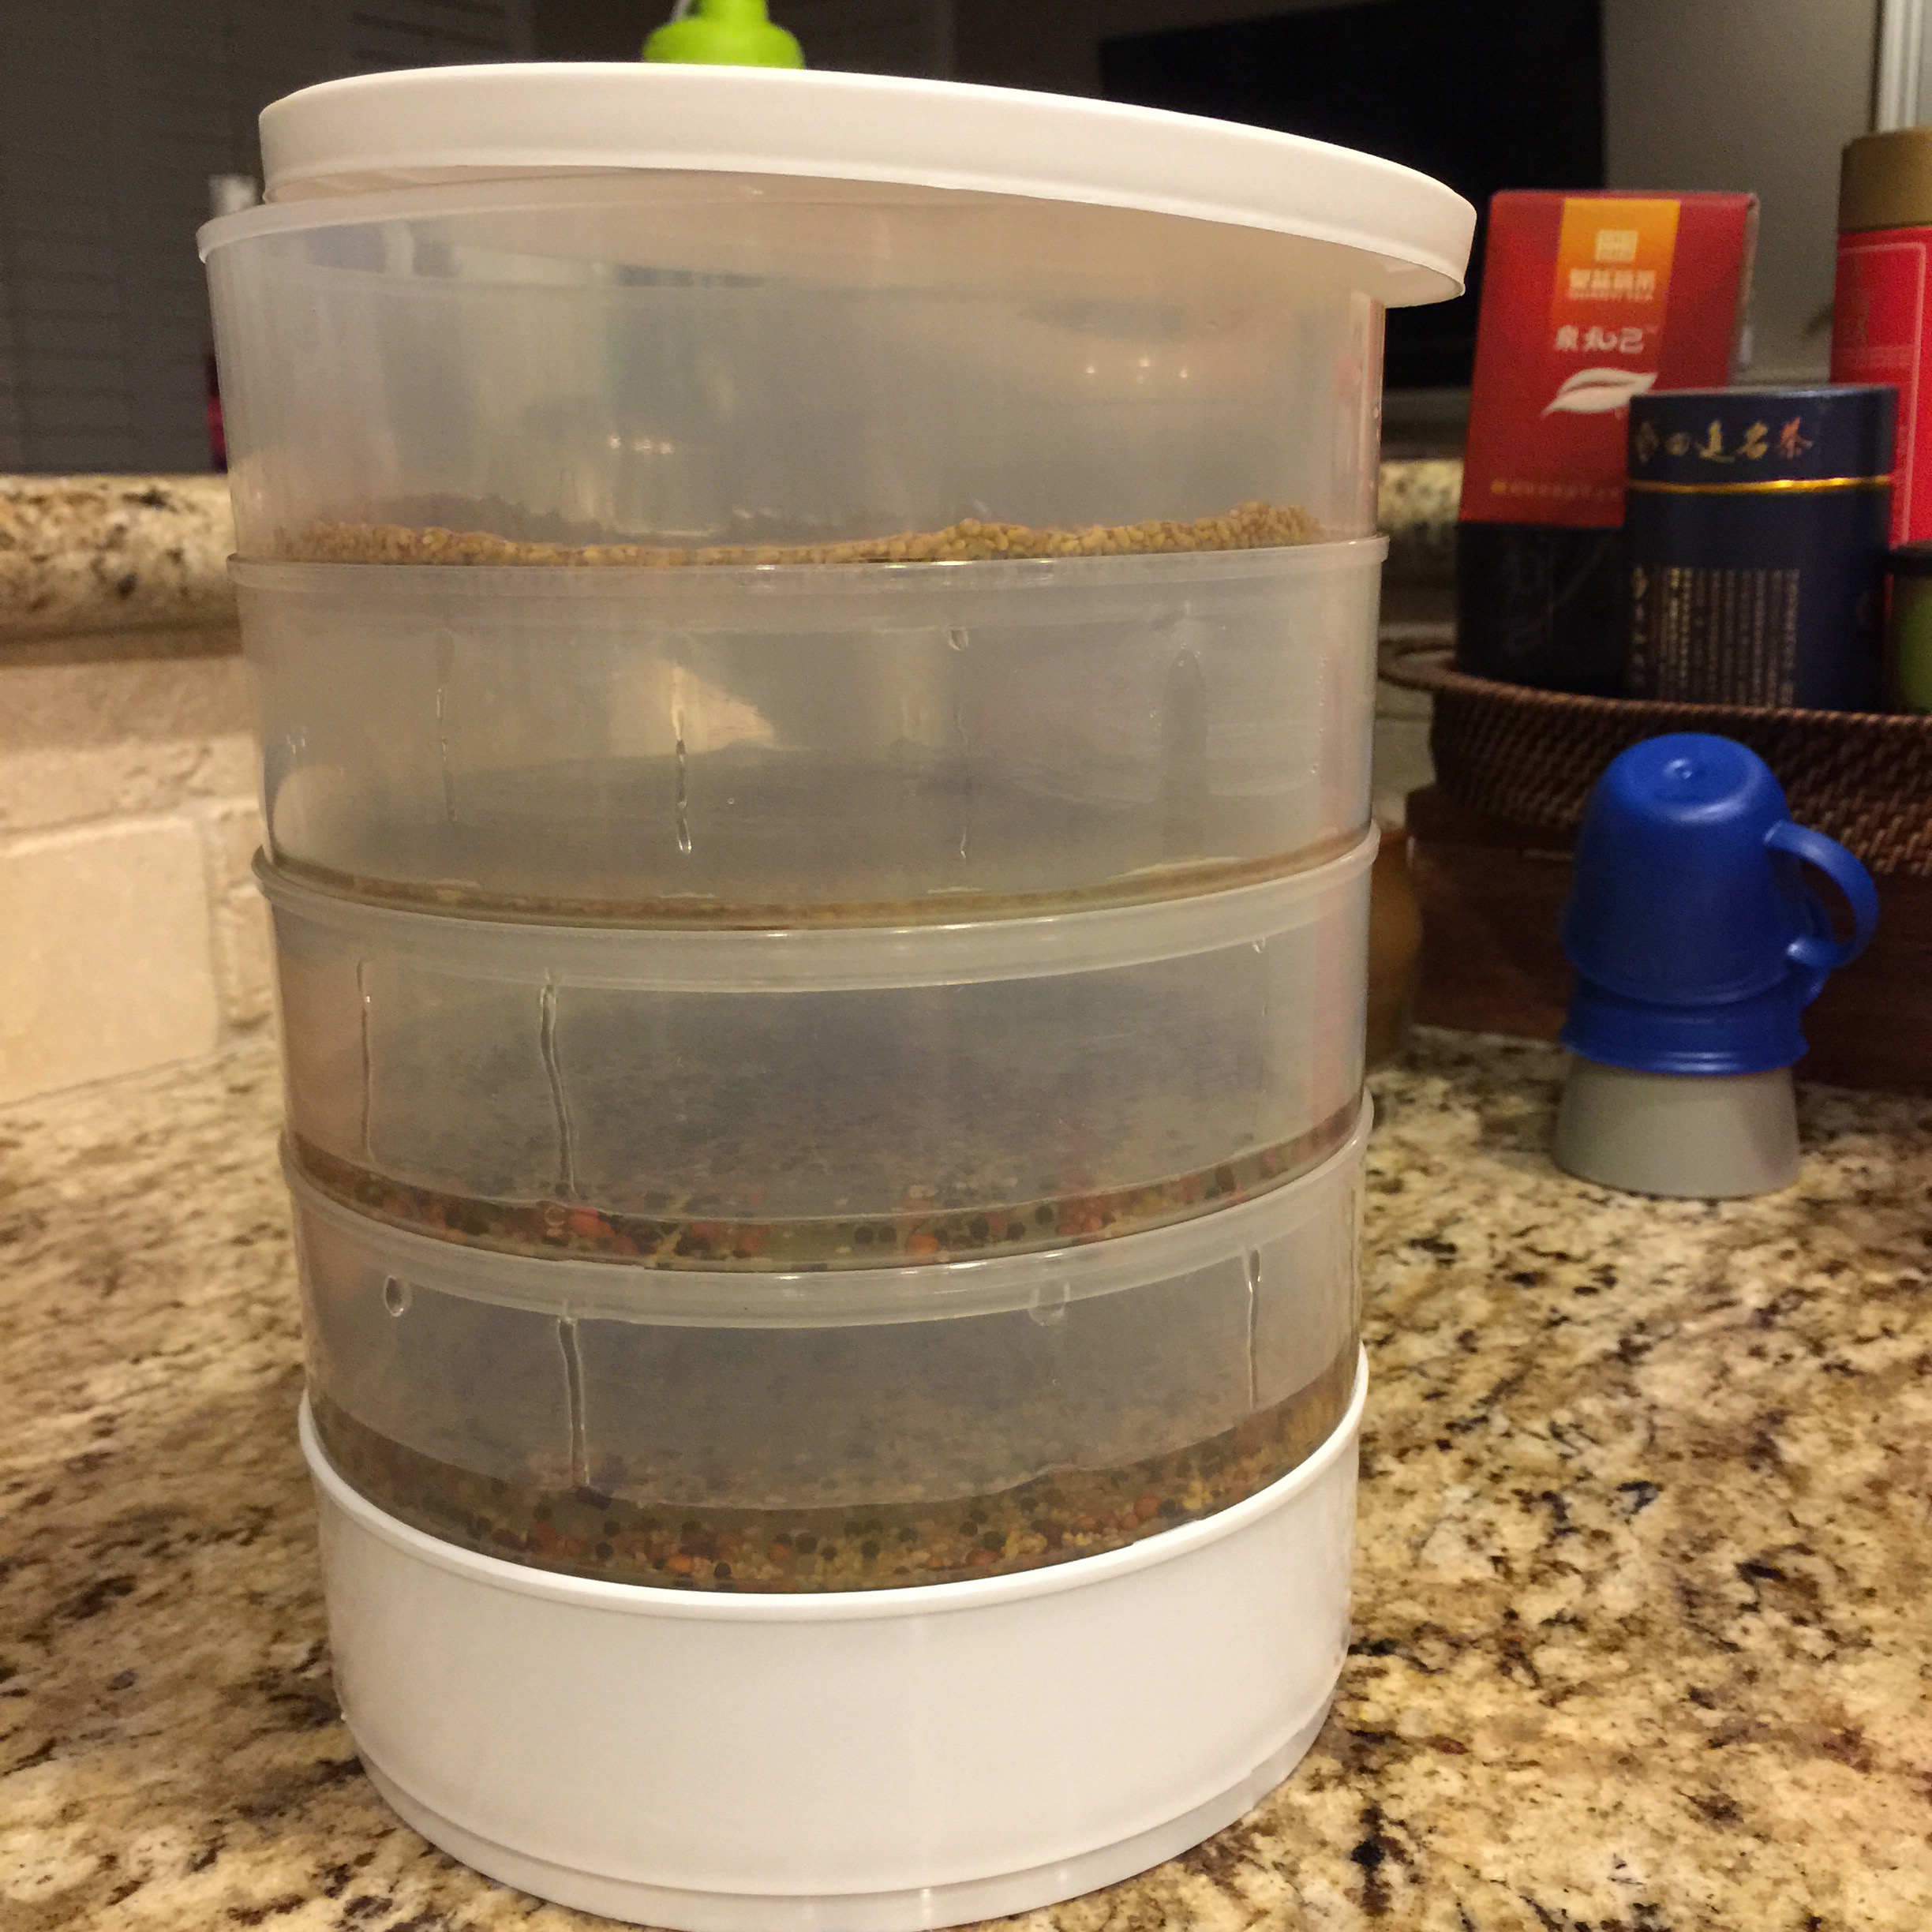
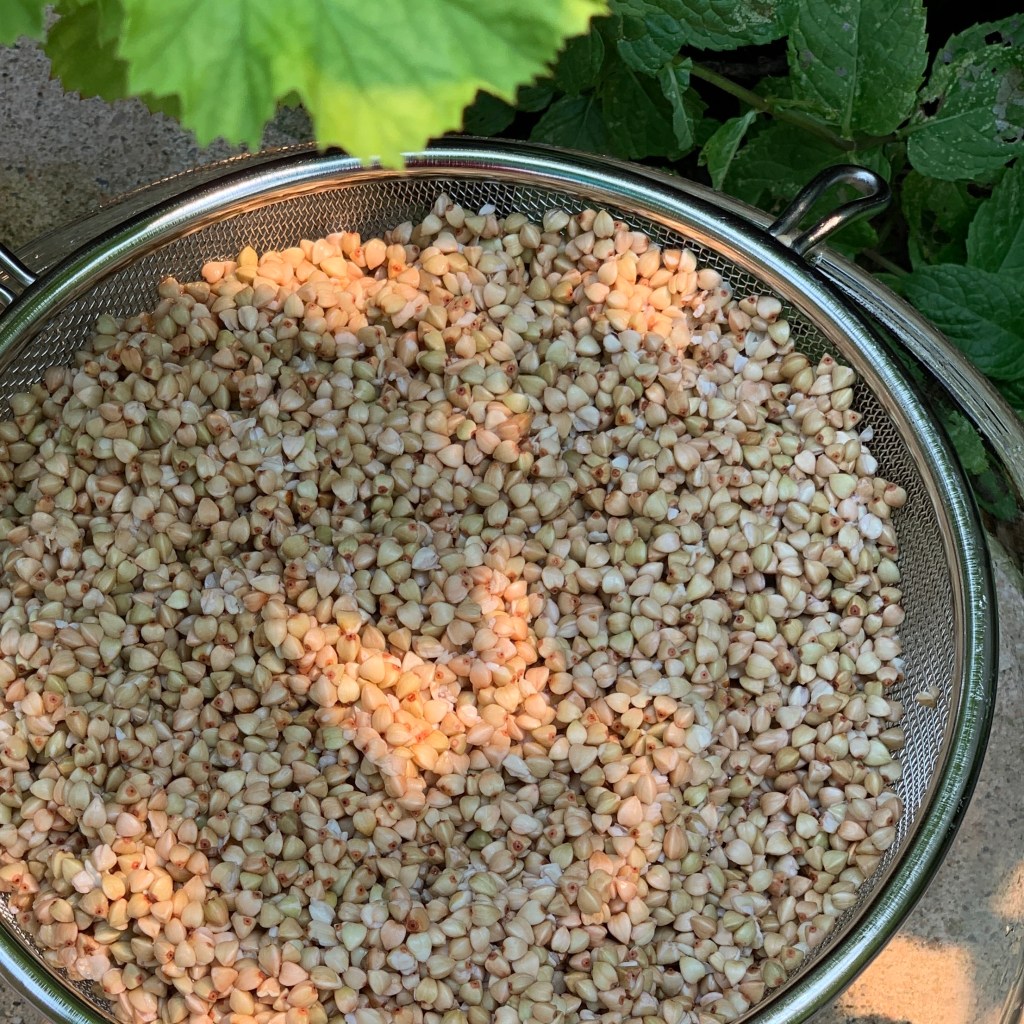
  • 2/3 cup Organic Raw Buckwheat Groats
  • 2 cups of cold water
  • 1/2 cup Unsweetened Vanilla Almond Milk
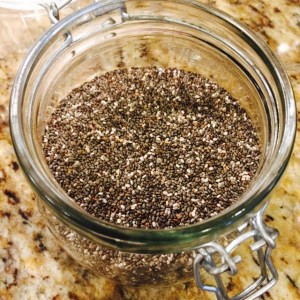
  • 3 tbsp. of Chia Seeds
  • 3/4 cup of Unsweetened Vanilla Almond Milk (or any milk or non-dairy Plant Milk of your choice)
  • 2 tbsp. Monk Fruit (sweetener of your choice)
  • 1 tsp. Vanilla
  • Pinch of Sea Salt
  • 1 Banana (or any fruit of your choice; berries, mango, kiwi, peach, etc.)
  • 1 tbsp. of Nut Butter (mine was unsalted, no-sugar creamy peanut butter)

In a blending jar, soak the buckwheat groats with water, overnight. Meanwhile, in a small mason jar, soak the chia seeds with 3/4 cup unsweetened vanilla Almond Milk.

The next morning, drain the water from the buckwheat groats and add 1/2 cup of Milk. Add Vanilla, sweetener, a pinch of salt and half of the fruits you prepared for this recipe. Blend together until you get the consistency that you want.

Prepare two bowls or mason jars to assemble. Pour the buckwheat porridge into the bowl. Add in some chia pudding then top with your choice of fruits and nut butter. Drizzle honey or maple syrup to add more sweetness and to be more creative, you can also add a sprinkle of chia seeds, coconut flakes, dried berries or granola.

I do not add any syrup or honey on mine but still, it is over-the-top. I enjoy this hearty and healthy morning breakfast filled with lots of healthy ingredients while keeping me full and active the entire morning. Best of all, I made this with my daughter. Making overnight oats/porridge with her is a fun way for me to spend time and teach her how to make healthy breakfasts.

I love the earthy taste of this raw buckwheat porridge. Tell me how yours will turn out. Thank you for visiting my blog and for reading my post.

My Version of Pesto (Pesto Alla Genovese)

Pesto is a sauce originating in Genoa, Italy. Traditionally, it consists of crushed garlic, pine nuts, course salt, basil leaves and hard cheese. My version is simple and clean and easy to make. I experimented on using different types of nuts, different cheeses and even different types of basil.

My brother recently suggested to me that I can use my slow masticating juicer. I was surprised by the texture of my pesto. It brought my sauce into a different level.

I also make pesto using my classic Mortar and Pestle and sometimes even my blender but my favorite way to make it is using my food processor.

My children are my food critic. They tell me which type of pesto version they like the most. Today, I will share to you the best version of pesto my children like the most. This recipe will be using a food processor but if you don’t have one, feel free to use whatever you have at home.

INGREDIENTS:

  • 8 oz. Organic Fresh Basil (washed and leaves removed)
  • 3-5 cloves of Garlic
  • 1/4-1/2 tsp. of course Sea Salt
  • 1/4 cup of roasted Pine Nuts
  • 1/3 cup of freshly grated Parmesan Cheese
  • 1/2 cup of Extra Virgin Olive Oil
  • 1/2 lemon (optional)

DIRECTIONS:

Put the garlic, pine nuts and salt in the food processor then process into a smooth paste. Add the basil, a handful at a time and continue processing. Drizzle olive oil while the food processor is running at low speed and process until smooth. Stir in the grated parmesan cheese.

We love our pesto garlicky so I put more garlic than our normal recipe. Without the garlicky taste, it’s a no-no for my kids. I sometimes add a little bit of lemon juice to add a little character to my sauce.

This recipe is my children’s go-to. They eat it with their pasta, their morning toast, top it on their pizza, dip for their baby carrots and even spread for their lunch wraps. You can freeze your extra sauce in a jar and it can stay fresh for up to 3 months but I am not so sure you will do that since this pesto will be gone before you know it 🙂

I hope you like my recipe. Please click the Like button below if you did. Thanks for visiting my blog.

Okonomiyaki (Japanese savory pancake)


Another way to make my children eat vegetable is by making vegetable pancakes where I chop and mix all kinds of veggies into a pancake a mix and serve it with sauce to make it more appetizing.  In my older posts, I have shared my recipe of the Korean Pancake, my children’s ultimate favorite vegetable dish.

This time, I made Okonomiyaki, the Japanese way of cooking savory vegetable pancake.  I used yam flour, wheat flour and eggs for the batter.  The main ingredient is thinly shredded cabbage leaves, then I added fried tempura batter for texture and some chopped scallions.  After grilling the pancake on a non-stick pan, I topped the pancake with aonori (seaweed flakes), bacon (optional), katsuobushi (bonito flakes) and some Japanese mayonnaise.

It was another hit!  My kids love it ♥

Maíz con hielo (Corn with Ice) at Manila Sunset, National City California

Maíz con hielo is a cold, sweet and refreshing desert snack in the Philippines.  We used to make these a lot during the hot and humid summer months when we had no school.  It’s a very economical treat and it’s very easy to make even minors can do it themselves (except for opening a canned corn, they will need assistance from a grown-up)

The picture shown on my blog is a special version of Maíz con hielo.  I ordered this from a small Filipino restaurant in National City and their version includes a scoop of vanilla ice cream and a small chunk of Leche Flan (Filipino Custard).  Really, when you want to make this, you don’t need these special ingredients.

Maiz con Hielo with Vanilla Ice cream and custard

Here’s the recipe for Maiz con Hielo

Ingredients:

  • Canned sweet corn (Whole Kernel or Creamed Style)
  • Shaved Ice
  • White sugar
  • Evaporated Milk (or any milk available)…

Procedure:

In a large glass, put as much canned sweet corn that you like.  i usually put 1/4 cup or a little bit more.  Then add the shaved ice, sugar (depending on how sweet you want it to be) and milk.  That’s it!!!  Mix it well before enjoying.  You can add any special ingredients like sweetened fruits, nuts, granola, ice cream, etc.

Easy right?  I hope you can make some and show me some pictures of what you made.  I will make some for my children tomorrow, they love it!

By the way, because we were in a Filipino restaurant, we ordered other delicacies like the Bibingka (Charcoal steamed Rice Cake) and Fresh Lumpiang Ubod (Egg roll Crepe with Palm Hearts and vegetables).

Bibingka (Charcoal Steamed Filipino Rice Cake with salty cheese, sugar and freshly grated coconut

Lumpiang Ubod (Fresh Crepe rolled Palm Hearts and mixed vegetables topped with sweet sauce, peanuts, garlic…

“Kongguksu” – Soy Milk Cold Noodle Soup

Inspired by Maangchi, I wanted to create my own version of her Soy Milk Cold Noodle.  It was super easy and I loved it. Although my family doesn’t like cold noodle dishes that much, I personally enjoyed the nutty and creamy cold soup base.

This is a very easy and healthy & economical noodle dish perfect for the warm days of coming summer months.

For the recipe, you can visit Maangchi’s website.  She is the expert and I am just a fan.

If you have any questions, feel free to leave me a message.

IMG_4708

Wash Soy Beans and remove dead floating ones

Soak for 10-12 hours

After soaking, wash well  with bare hands and scrub soy beans together to remove softened skin.
After soaking, wash well with bare hands and scrub soy beans together to remove softened skin.

After washing the soy beans well, cook for 10-15 minutes then drain.

Put soy beans, salt, mixed nuts in the blender

Add water (2 1/2 cups of water to 1 cup of cooked soybeans) and some ice then blend until smooth

Memorial Day weekend Farmer’s Market 

One of my favorite things to do with my family is going on a weekend Farmer’s market trip either locally or wherever we may be (when we are on a trip).  I enjoy looking at each stall showcasing their handcrafted products or organically grown produce and/or plants.

We take time walking and enjoying all the “free-taste” offered by each seller.  My kids get to taste the products and naturally, they ask us to buy more for them to consume on other days.  While we look around what’s available during the season, my husband and I get to plan what we want to cook together, weekday meal plans for the family and the entire weeks’ school and/or work lunch ideas.

Because going to the Farmer’s Market is more economical and healthy, we get to enjoy our food budget with freedom to purchase what is needed and wanted, making our weekend mornings an enjoyable family errand, street food, food exploration day.

One might say, it’s still expensive to go to a Farmer’s Market because only organically grown produce are available and these products are pricier than produce sold by bulk at big supermarkets.  Well, I learned from my own personal experience that buying all kinds of meat products and stocking processed food is the main reason why my food budget is exhausted easily.  When my family eats fresh and healthy fruits and vegetables, minimize our consumption of meat products and a lot of those “boxed goodies”, we have more spending money left to buy these all-natural foodstuff.

Enjoy the photos I took and imagine yourself at a Farmer’s Market.

For more information about Orange County Certified Farmer’s Market, just like the link.  Photos below were taken at the Saturday Irvine Farmer Market located at the Mariner’s Church parking lot.

Bought some fresh Cauliflowers for my cauliflower soup

Berries are everywhere!!! I bought some for my pancakes…

Always stock up some Hass Avocados for salads, breakfast, snacks, smoothies, etc.

Kale and Chard for our Detox Juicing

I am never out of Onions… Red Onions are great for salads…

Another necessity, Lemons are high in Vitamin C and is needed almost everyday in my kitchen.

My Asian ingredient that’s always available in my kitchen, Ginger!! I use it for juicing, soups, stir-fry, steamed fish, etc.

Everybody loves spinach!! I know someone who can’t live without it – POPEYE!!!

As requested by my little girl, we got some Yellow Peaches. It says “More sweet than my Mother’s Love,” to me, it was sweet but nothing beats my Mommy’s love 🙂

Very slim carrots for our Detox Juice

Beautiful Orchids for sale!!

Plants for sale too! This is where I got my beautiful Bougainvilleas…

Daikon radish very cheap and nutritious… I use this on soups and simple Japanese grated daikon

Cherries were everywhere!!!

My little girl enjoying the wide variety of “Free-Taste,” this is her favorite thing to do when we go to Farmer’s Markets… who wouldn’t enjoy doing this?

Kohrabi is a German Turnip. I pickle this, great as appetizer!

Fancy tomatoes.. Fancy mixing this into your salad?

Vegetable explorer! She loves discovering special fruits and vegetables…

Another attention-grabber, red radishes… beautiful and fresh. Easy to add on salads and stews…

It’s a must to always but a bouquet here… Price in the stores are 3 time more expensive!

Although my eldest daughter doesn’t enjoy eating these (Bitter Gourd Leaves/Dahon ng Ampalaya), she still tries her best to eat some to test her capacity to eat different tastes and textures.. I am so proud of her!

Final stop… my coffee from freshly ground organic coffee beans. This is LIFE!!!

Some street food vendors at the end of the market for people to enjoy and relax…


DOYD’S JUICE FOR DETOX

Have you tried Detoxification?  Juicing for detox is a very effective way for me and my husband to cleanse our body.  Why do we do this?  Simple, because we love ourselves.  We enjoy juicing as a family, we have fun buying our produce from the local Farmer’s Market in Laguna Niguel, Irvine or San Juan Capistrano (California) and we spend time together in our kitchen cutting up, cleaning and preparing for our healthy juice for detox.

First thing’s first, we buy organic fruits and vegetables to make sure our juice is free from any pesticides or chemicals.  We make sure to pick the fruits and vegetables that our children like plus a little bit of this and that that they don’t know I mix into the juice but they still love the taste (i.e., celery, beets, ginger, lemon, different herbs, etc.).

Today I went to Sprouts Farmer’s Market with my little girl and she helped me bag all the fresh ingredients for our juice.  Our children eat all kinds of vegetables and fruits so she picked the celery, cucumbers, green bell peppers and green apples.  Green is her favorite color 🙂 and I picked the rest.

Our photo gallery below shows all the ingredients.

Apple is the most common ingredient we put in our juice

Collard greens in the salad bowl after a good wash

Chia seeds for added fiber

Navel oranges to add Vitamin C and sweetness into our juice

Washed and cleaned ready for chopping to fit our juicer

Sliced thinly to fit our juicer

Lots of Parsley and Cilantro

More green means more detox power

Using our Omega Nutrition Juicer

Fast absorption of powerful ingredients and antioxidants

Detox Juice
Detox Juice

Juicing for Detox is really easy.  We are very lucky to have all these fresh vegetables available locally but really, wherever you are, there are all kinds of produce available to you.  Just pick anything that you want and juice them up.

Finding a good juicer is an investment for your health.  We use the Omega Nutrition System Juicer that use low-speed juicing.  There are a lot of juicers in the market.  Invest on one that is durable and something that will last for a long time.

Good luck on your juicing!

Watch Dr. Oz for more inspiring messages on Juicing for Detox:

Click this photo for a link to watch Dr. Oz on Joe Cross' 3-Day Weekend Juice Cleansing
Click this photo for a link to watch Dr. Oz on Joe Cross’ 3-Day Weekend Juice Cleansing

Growing Sprouts with my Kids

Growing my own sprouts was an idea I learned from my brother.  I researched about it and how beneficial and healthful it will be for me and my family.

I invested on a Victorio 4-Tray Seed Sprouter, I read the manual, watched YouTube tutorials and with my daughters, we enjoyed germinating and growing our sprouts.


Our first harvest proved really effective.  The best discovery I had was that our girls love to eat them.  Growing sprouts being easy and money-saving plus fun simply makes it a worthwhile experience we will be doing from now on.

The next challenge was how do I make my children eat these.  We are not vegetarians but our children adapts well to new tastes and textures.  How do I make them eat it?  First I let them try a little piece of what they planted on their own.  That makes it more meaningful for them.  Then I prepare, cook or mix the sprouts with their favorite recipes like plain micro-greens mixed with their favorite soy dressing (see Mei’s cute YouTube video on top of this page),  add it to my daughter’s sandwich for school lunch or make our children’s favorite:  Vegetable Pancake made of sprouts and a lot of other simple dishes I am sure they will love.

I can’t wait to learn to grow sprouts from a Jar.  That will come next on my blog.


Fresh Kale, Roasted Chickpea & Apple Avocado Salad

This fresh salad made of Tri-color Quinoa (from Trader Joes) is a very easy, healthy and filling recipe.  I learned about this recipe from an online nutrition educator.  I made changes to her recipe according to what ingredients I have at hand.  Here’s how to make this:

INGREDIENTS:

1 cup of Tri-color Quinoa

2 cups Water

1 bundle of Kale, washed and removed tough parts of stalk

1/2 cup Sun-dried Tomatoes, sliced

1-2 Avocados, diced

1 small Fuji apple, diced (korean pear or plums could be used too)

1 medium Red Onions, diced

1 can Chickpeas/Garbanzo Beans

4 Tbsp. Balsamic Vinegar

1/2 large Lemon

Salt

Cook the quinoa according to package instructions.  Set aside and let it cool.

In a large bowl, mix the washed and cut Kale with some salt and balsamic vinegar.  Massage, squeeze and/or kneed for 2-3 minutes until the leaves are soft and had turn to dark green.

Heat a non-stick frying pan to medium, then add a little bit of olive oil.  Saute the red onions until half translucent, then add the chickpeas and sun-dried tomatoes.  Salt to taste.

Together with the Kale in a bowl, mix the sautéed ingredients with the quinoa plus add the diced apple, avocado and lemon juice then mix well.  Serve as is or top with some fried tofu, grilled fish or fried eggs.

Very easy and so refreshing to eat.