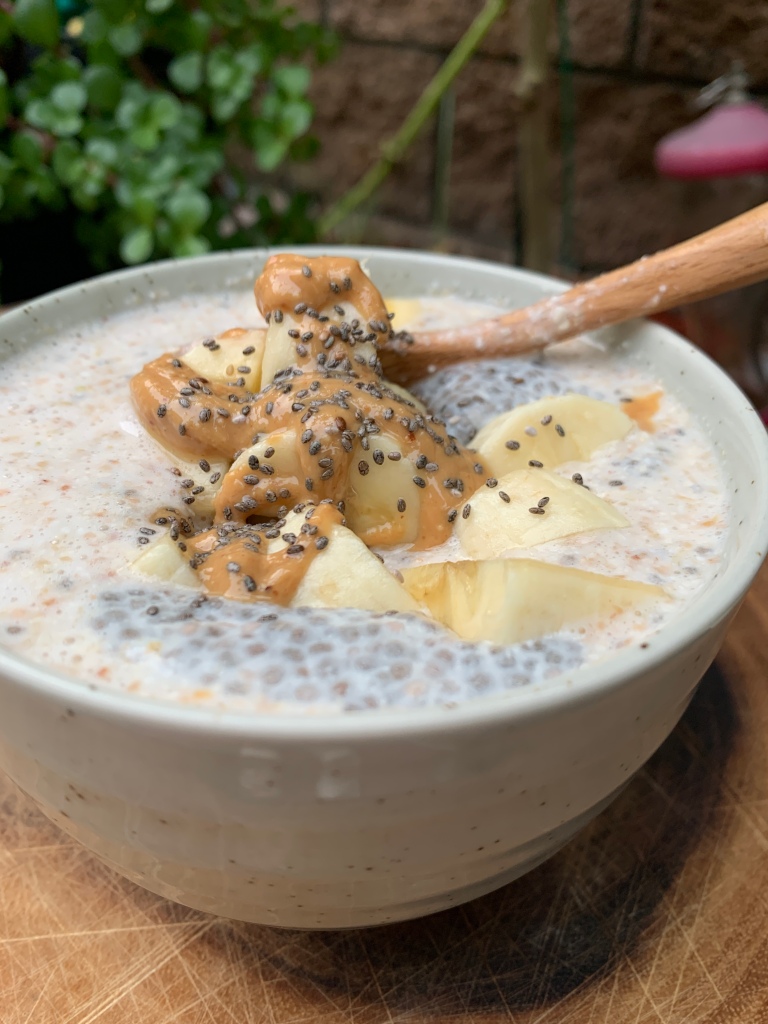
Overnight Buckwheat Chia Porridge with Banana and Peanut Butter
I discovered this recipe from a Food Blogger in YouTube. I did make some changes on her recipe according to how I want my porridge to be. My daughter loves chia pudding so instead of blending the chia with the softened buckwheat groats, I soaked the chia seeds with unsweetened Almond Milk overnight and mixed it with the porridge in the morning to give some dimension to my creamy morning porridge.
Here’s my simple recipe for a 2-serving Overnight Buckwheat Porridge.
INGREDIENTS:
2/3 cup Organic Raw Buckwheat Groats
2 cups of cold water
1/2 cup Unsweetened Vanilla Almond Milk
3 tbsp. of Chia Seeds
3/4 cup of Unsweetened Vanilla Almond Milk (or any milk or non-dairy Plant Milk of your choice)
2 tbsp. Monk Fruit (sweetener of your choice)
1 tsp. Vanilla
Pinch of Sea Salt
1 Banana (or any fruit of your choice; berries, mango, kiwi, peach, etc.)
1 tbsp. of Nut Butter (mine was unsalted, no-sugar creamy peanut butter)
In a blending jar, soak the buckwheat groats with water, overnight. Meanwhile, in a small mason jar, soak the chia seeds with 3/4 cup unsweetened vanilla Almond Milk.
The next morning, drain the water from the buckwheat groats and add 1/2 cup of Milk. Add Vanilla, sweetener, a pinch of salt and half of the fruits you prepared for this recipe. Blend together until you get the consistency that you want.
Prepare two bowls or mason jars to assemble. Pour the buckwheat porridge into the bowl. Add in some chia pudding then top with your choice of fruits and nut butter. Drizzle honey or maple syrup to add more sweetness and to be more creative, you can also add a sprinkle of chia seeds, coconut flakes, dried berries or granola.
I do not add any syrup or honey on mine but still, it is over-the-top. I enjoy this hearty and healthy morning breakfast filled with lots of healthy ingredients while keeping me full and active the entire morning. Best of all, I made this with my daughter. Making overnight oats/porridge with her is a fun way for me to spend time and teach her how to make healthy breakfasts.
I love the earthy taste of this raw buckwheat porridge. Tell me how yours will turn out. Thank you for visiting my blog and for reading my post.
Pesto is a sauce originating in Genoa, Italy. Traditionally, it consists of crushed garlic, pine nuts, course salt, basil leaves and hard cheese. My version is simple and clean and easy to make. I experimented on using different types of nuts, different cheeses and even different types of basil.
My brother recently suggested to me that I can use my slow masticating juicer. I was surprised by the texture of my pesto. It brought my sauce into a different level.
I also make pesto using my classic Mortar and Pestle and sometimes even my blender but my favorite way to make it is using my food processor.
My children are my food critic. They tell me which type of pesto version they like the most. Today, I will share to you the best version of pesto my children like the most. This recipe will be using a food processor but if you don’t have one, feel free to use whatever you have at home.
INGREDIENTS:
8 oz. Organic Fresh Basil (washed and leaves removed)
3-5 cloves of Garlic
1/4-1/2 tsp. of course Sea Salt
1/4 cup of roasted Pine Nuts
1/3 cup of freshly grated Parmesan Cheese
1/2 cup of Extra Virgin Olive Oil
1/2 lemon (optional)
DIRECTIONS:
Put the garlic, pine nuts and salt in the food processor then process into a smooth paste. Add the basil, a handful at a time and continue processing. Drizzle olive oil while the food processor is running at low speed and process until smooth. Stir in the grated parmesan cheese.
We love our pesto garlicky so I put more garlic than our normal recipe. Without the garlicky taste, it’s a no-no for my kids. I sometimes add a little bit of lemon juice to add a little character to my sauce.
This recipe is my children’s go-to. They eat it with their pasta, their morning toast, top it on their pizza, dip for their baby carrots and even spread for their lunch wraps. You can freeze your extra sauce in a jar and it can stay fresh for up to 3 months but I am not so sure you will do that since this pesto will be gone before you know it 🙂
I hope you like my recipe. Please click the Like button below if you did. Thanks for visiting my blog.
Making homemade jam wasn’t my thing but I learned to make it because I wanted my family to enjoy my homemade bread with something fresh and clean. Clean meaning, no added refined sugar and preservatives. This is a very easy recipe that I use as a spread, as topping for my yogurt snack, add-on to my overnight oats for breakfast or even an addition to my homemade dairy-free ice cream. By the way, I tried this same recipe using blackberries and raspberries. You can use any kind of fresh OR FROZEN berries you have in handy, wherever you are 🙂
Start by washing the blueberries. In a medium stainless steel sauce pan, place the blueberries and add the sugar, lemon zest, lemon juice, vanilla and a pinch of salt. Turn on the burner to medium high. Using a potato masher, gently smash the blueberries while it is starting to cook. Leave some berries tact for texture. When the mixture starts to boil, turn the burner to low then add the chia seeds.
Cook for 10-15 minutes, mixing a couple of times or so. Add the xanthan gum and continue to cook for 5 minutes. You can omit the xanthan gum because the chia seeds will help thicken the jam already.
The lemon will balances the sweetness. You can also omit the monk fruit when blueberries are in season and are naturally super sweet.
This is our go to jam. I put them in small 8 oz. jars. Each jar is only 165 calories. I hope you try and make this too. It’s one of my super easy recipes that I truly want to share to all of you. If you liked this recipe, please share it to your friends. Thanks!
I mastered this super easy bread recipe just a few months ago. After staying home for almost 3 months due to COVID-19, I learned to bake different kinds of things like cakes, muffins, cookies, sweet buns, dinner rolls, keto bread, gluten-free buns, etc. After weeks and weeks of cooking and baking, just like a lot of other people, my family and I gained weight. It was expected but we were not happy about it. With positive attitude and collective effort, we decided to be consciously healthy moving forward.
To bake this bread, I use the best local ingredients available and I buy from one of my favorite ETSYStore, AOSUPPLY. They have the best flour and yeast and their service during the pandemic’s stay-at-home order was excellent. Check them out and see for yourself.
Use coupon codeDOYD74when you order to receive $3.00 OFF your first purchase
I also buy flour from JOEL’S ORGANICS. My brother and his wife lives in Walla Walla County of Washington State. I was able to purchase Joel’s Organic products from their local coop store. They have very fresh products and I am very lucky that my family ships my Joel’s Organic flour directly from Walla Walla to Orange County here in California.
Use coupon codeDOYD74when you order to receive 10% OFF your purchase
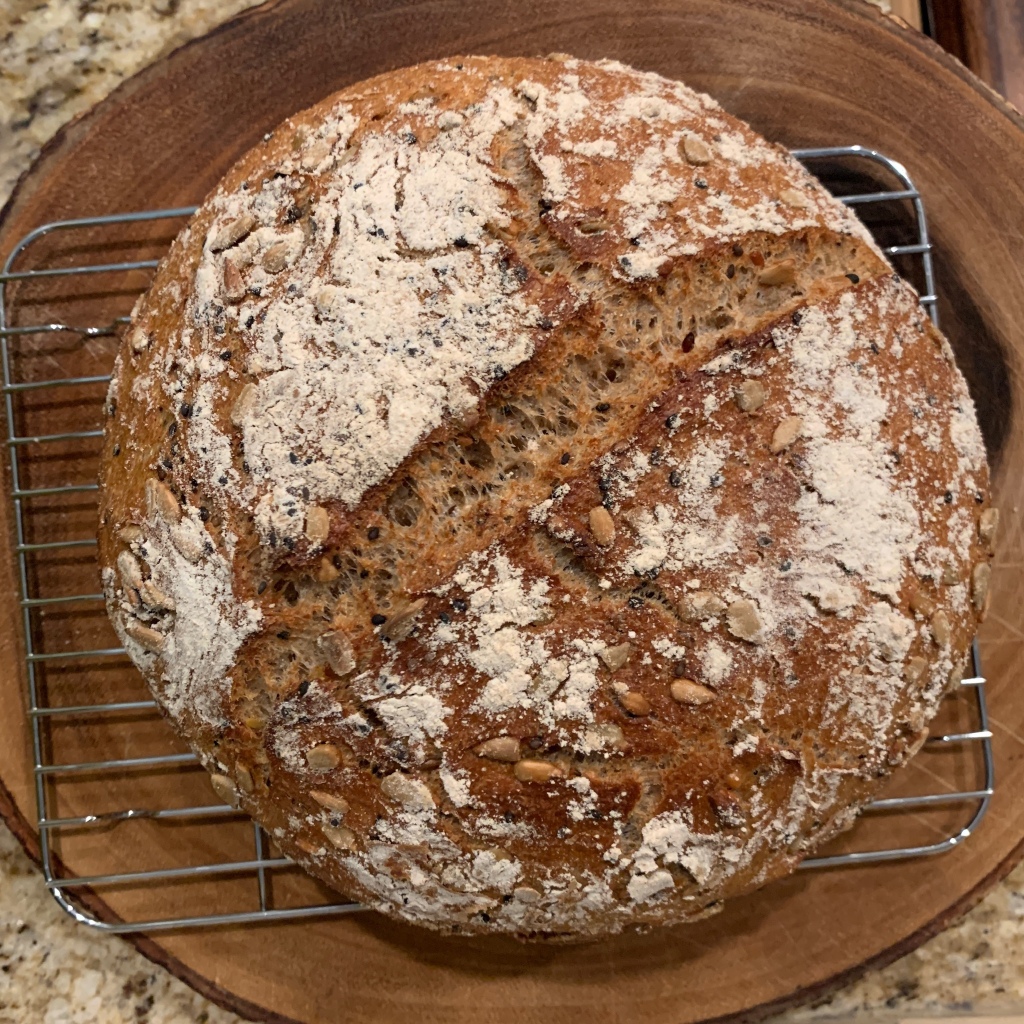
I am sharing my recipe of this Multigrain Whole Wheat Bread so you can enjoy this dense but light on the stomach bread. It’s easy on our digestion and low-glycemic. This is my breakfast, my snack, my desert, or my after dinner treat. Try to make it and let me know how it goes.
INGREDIENTS:
18 ounces Lukewarm Water
1/4 teaspoon Instant Yeast
1 1/4 teaspoon Salt
1 tablespoon Honey
1 tablespoon Olive Oil
2 cups Whole Wheat stone-ground fine Flour
1 1/2 cups Hard Wheat, stone-ground Bread Flour
1/2 cup Harvest Seed Blend
Some rolled oats for topping before baking
DIRECTIONS:
In a large bowl, add lukewarm water. Add the yeast, salt, honey and olive oil. Mix gently until everything is combined. Add the harvest seed blend and flour. Using a wooden spoon, gently fold the ingredients together until it forms a dough. No need to mix very well, as long as the ingredients are combined well, it should be ok. Cover the bowl with a cling wrap and proof for 4-5 hours. I use a proofing oven to consistently proof my dough.
After first proof, mix the dough with a spatula, removing the air. Shape into a ball, sprinkle with some rolled oats and bread flour and proof for another 30 minutes to an hour, depending on the weather where you live.
Preheat a greased Dutch Oven to 450°F. When it is preheated, carefully remove the hot Dutch oven and slowly transfer your dough into it. Cover and bake for 30 minutes in the middle rack. After 30 minutes, remove the cover and continue to bake for another 5 minutes to make your bread crusty. Remove from Dutch oven immediately when finished and transfer on a wire rack to cool.
RECIPE VARIATION:
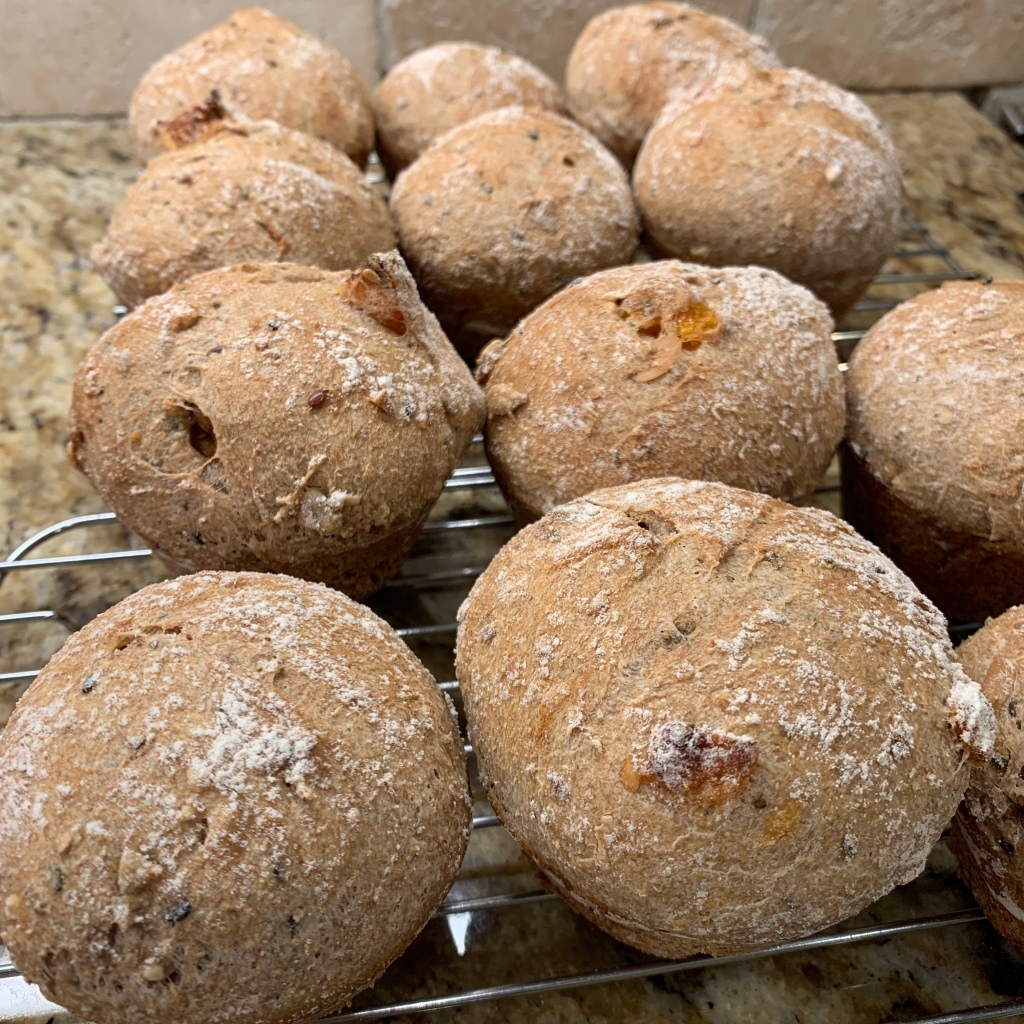
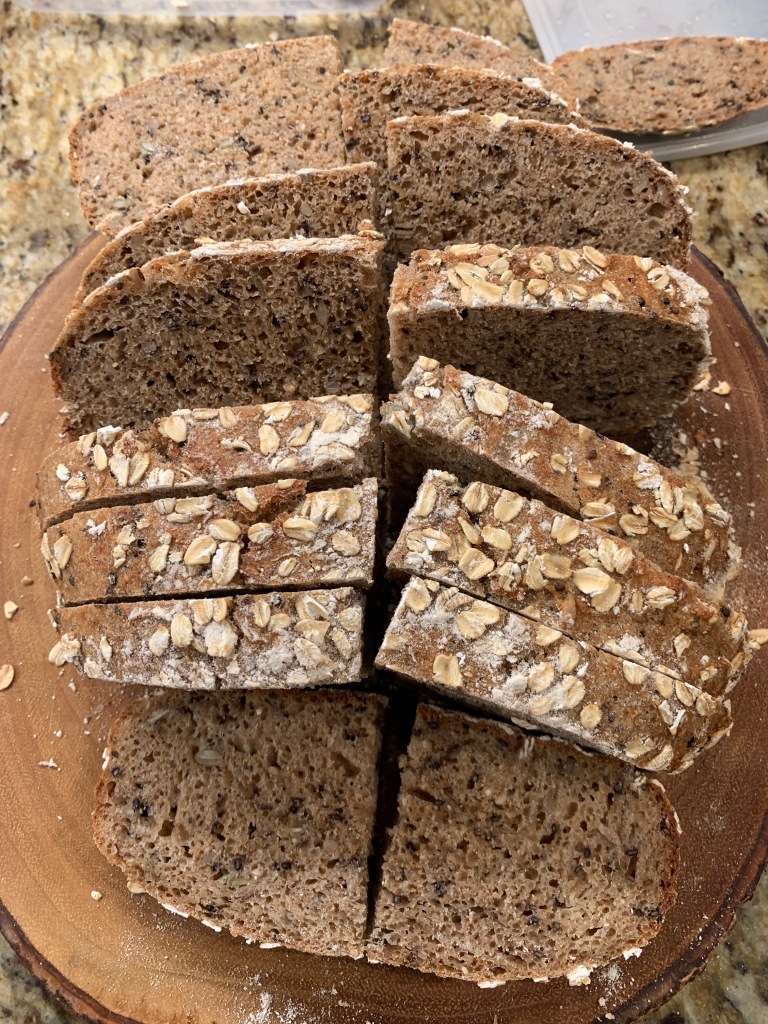
Using the same recipe above, I did two variations. First, I added 1/4 cup of chopped dried figs and 1/4 cup dried apricots. My second variation was instead of using harvest seed blend, I added 1/2 cup halved walnuts and 1/4 cup chopped apricots (one of my favorite combinations). I add the fruits and nuts after the first proof. Mix it well so that it’s ready to be transferred to the Dutch oven for baking.
FIGS AND APRICOTS
MEDIUM LOAVES
MUFFIN BUN
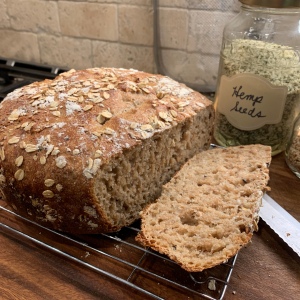
WHOLE LOAF
Each slice of my whole loaf with the variated recipe is only 98 calories. No need to add butter, cream cheese or jam. The figs and apricots sweetens the bread enough to enjoy it as it is.
I hope you enjoyed reading my post. Please try baking it. It takes about 10-15 minutes to prepare and mix the ingredients together then you can leave it for proofing. I am excited to know how your bread will turn out. THANK YOU for visiting my site. If you liked my post, please hit the like button below.
I’ve always wondered how to bake bread but I am a coward in terms of handling yeast. I have cooked many kinds of meals from different cultures but when it comes to using yeast, I am always intimidated. Why, you ask? I guess it’s because I never really saw how bread was made when I was young. It’s only now that we have YouTube, eBooks, Pinterest, etc. that I learned and discovered the many ways to prepare food and this trained me to cook better.
My whole grain Artisan Bread
Many years have gone but it’s only now in 2020 that I realized I wanted to try again and learn to bake bread. The COVID-19 Pandemic was actually the primary reason why I explored new ideas at home while on stay-at-home order and I courageously faced my fear (from yeast…. yes, instant yeast).
Back in March 2020, my first ever try was to make a pizza dough for my family. During the start of the COVID pandemic, I wanted to do fun things with my children and I knew that if they made their own pizzas, they would be super excited. It was a success! I usually research online for recipes and watch YouTube videos on how other people make it. Then I write down my own measurements and ingredient preferences. After which I try to make it myself.
My first pizza dough plus each family member’s pizza creation
This is the story of how I faced my fear. From that day on, March of 2020, we never had store-bought bread at home. I tried many types of bread recipes and I will share them to you on my next posts.
To all those who haven’t tried baking, try it! Baking our own whole grain bread is actually one of the greatest things that happened to our family. We used to all love to eat white bread. But now, all of us eat whole grain all the time. I still bake special treats for my family of course. That is part of eating healthy, rewarding ourselves with treats. Treats that I made myself knowing that I only use the healthier ingredients.
PIZZA DOUGH RECIPE
Ingredients:
4 cups All-purpose Flour
1 1/2 teaspoon salt (I use pink Himalayan salt)
1 1/2 teaspoon instant yeast
1 1/2 cups of lukewarm water
1 tablespoon olive oil
Procedure:
Using a stand mixer, mix the flour, salt and yeast. On low speed setting using the paddle attachment, start mixing the dry ingredients then add the water. Mix until the dough forms. Transfer the dough to a large bowl drizzled with olive oil. Make sure to coat the dough in oil, knead a little bit and form into a round dough. Cover with plastic wrap and proof for 2-4 hours at room temperature (I always use my proofing oven to be precise).
After rising, you can use the dough immediately and prepare to shape into pizza sizes that you prefer or you can store the dough in the refrigerator for up to 2 days (make sure to rest the dough at room temperature before using).
This recipe is enough to make 4, 8-10 inch pizzas just like what we did. Bake your pizza at 450°F for 7-12 minutes depending on how big/small, thick/thin your pizza will be. Sometimes, I pre-bake the flattened pizza dough for 5 minutes, then add my toppings and bake it for another 5-7 minutes. It really depends on your preference.
I am planning to make some dough tonight and keep it for tomorrow’s Friday night pizza. What’s your plan?
‘Til my next post…. If you enjoyed reading, please like my post and thanks for reading.
This salad is one of my family’s favorite salad. It is refreshing, easy to make, very healthy and affordable. I make this salad with Bulgur . You can buy bulgur at most Mediterranean or international supermarket. I use course bulgur on mine because I love the course texture mixed with my other ingredients. If you cannot find bulgur, other alternatives can be quinoa or couscous.
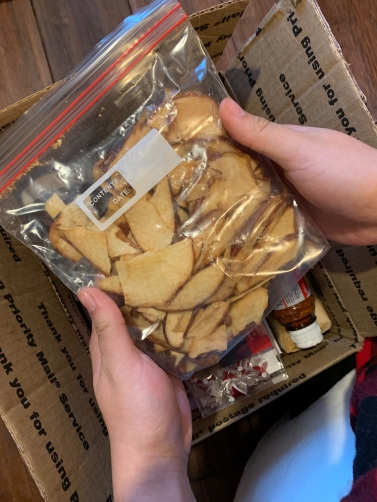
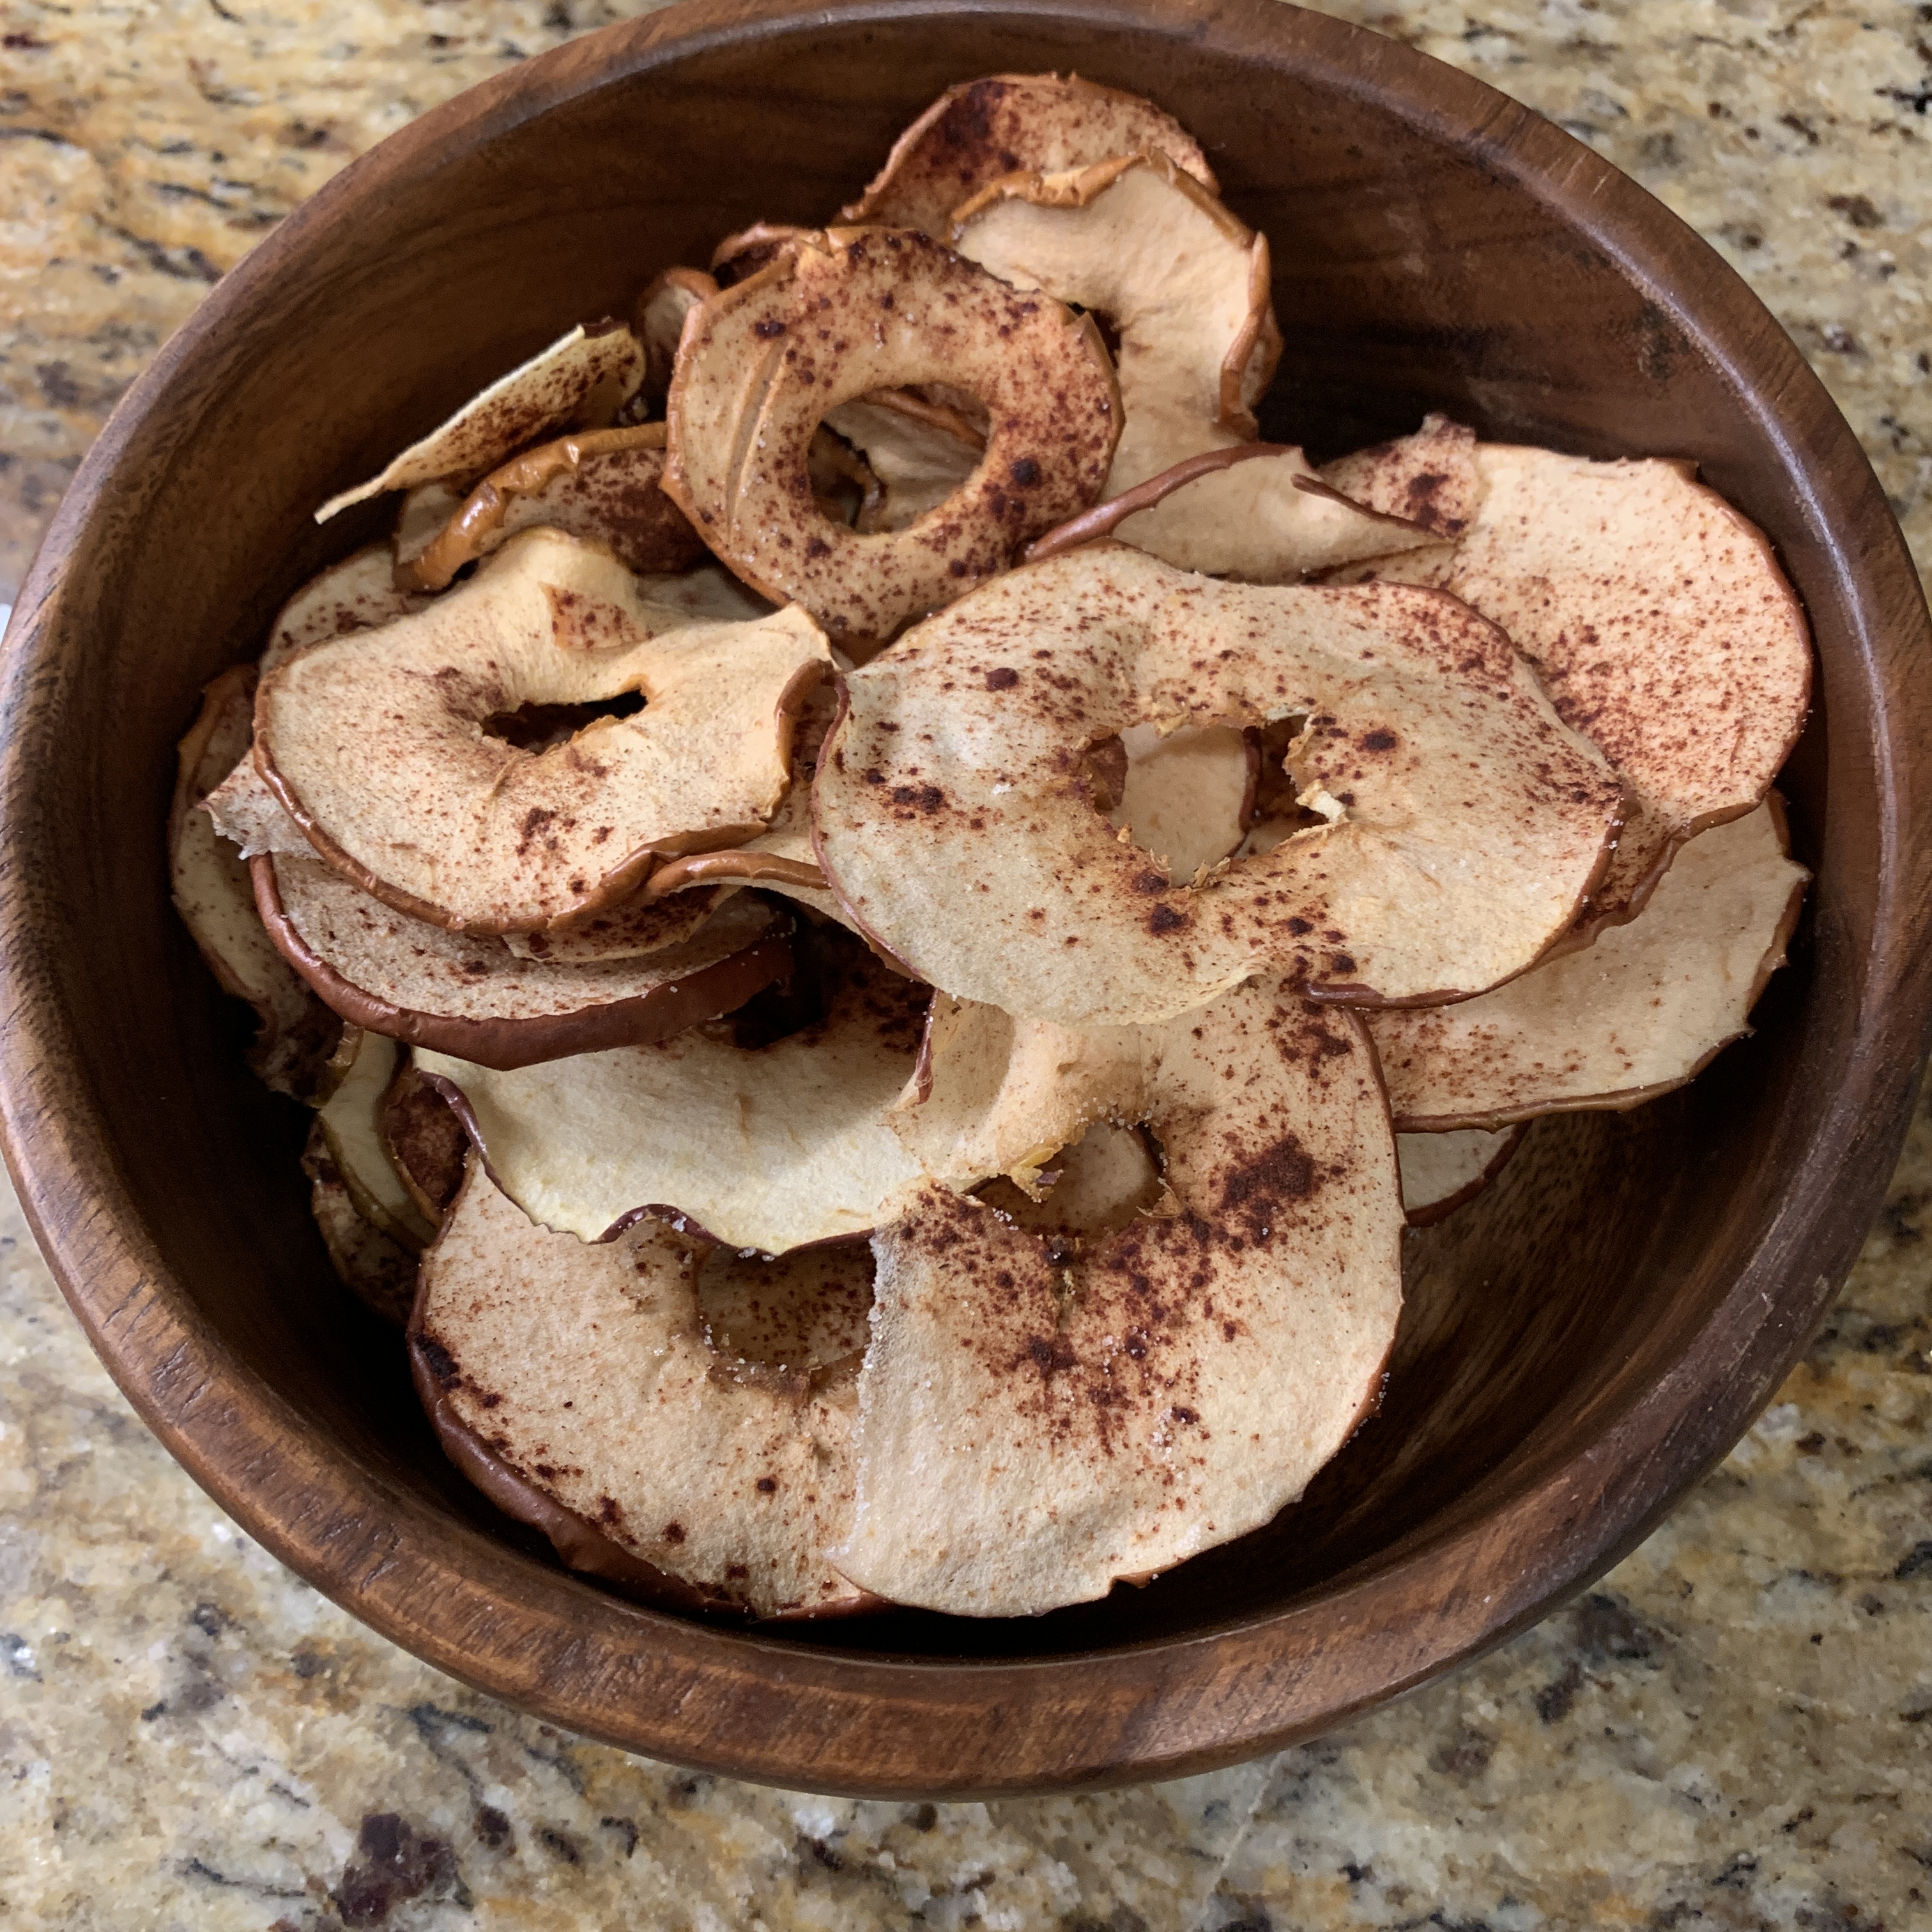
My sister-in-law first introduced me to dehydrated food. Whenever my brother visits us, he brings homemade dehydrated apples and many kinds of fruits for the kids.
However, even before that, I had a Dehydrator machine that has been stored in the garage for months. I used it before to learn food preservation. My first attempt was apples then Kale. It was successful but I just didn’t have the motivation to move on.
Now that my girls are getting bigger and processed chips are so famous (specially Spicy Hot Cheetos), I wanted to make homemade snacks for them. My kids eat fruits when I slice and prepare it for them. Using my old dehydrator, I attempted to undertake this old method of preserving food. Aside from improving shelf life of fruits and vegetables, it is an ideal snack for my family because they can easily pack it and bring to school and/or work without it being rotten.
This slideshow requires JavaScript.
During these Pandemic days, I find my Dehydrator machine very useful. Because we can only go food shopping once every two weeks, I can buy our veggies by bulk and dehydrate it then cook it when needed. I specially love dehydrated Korean Radish.
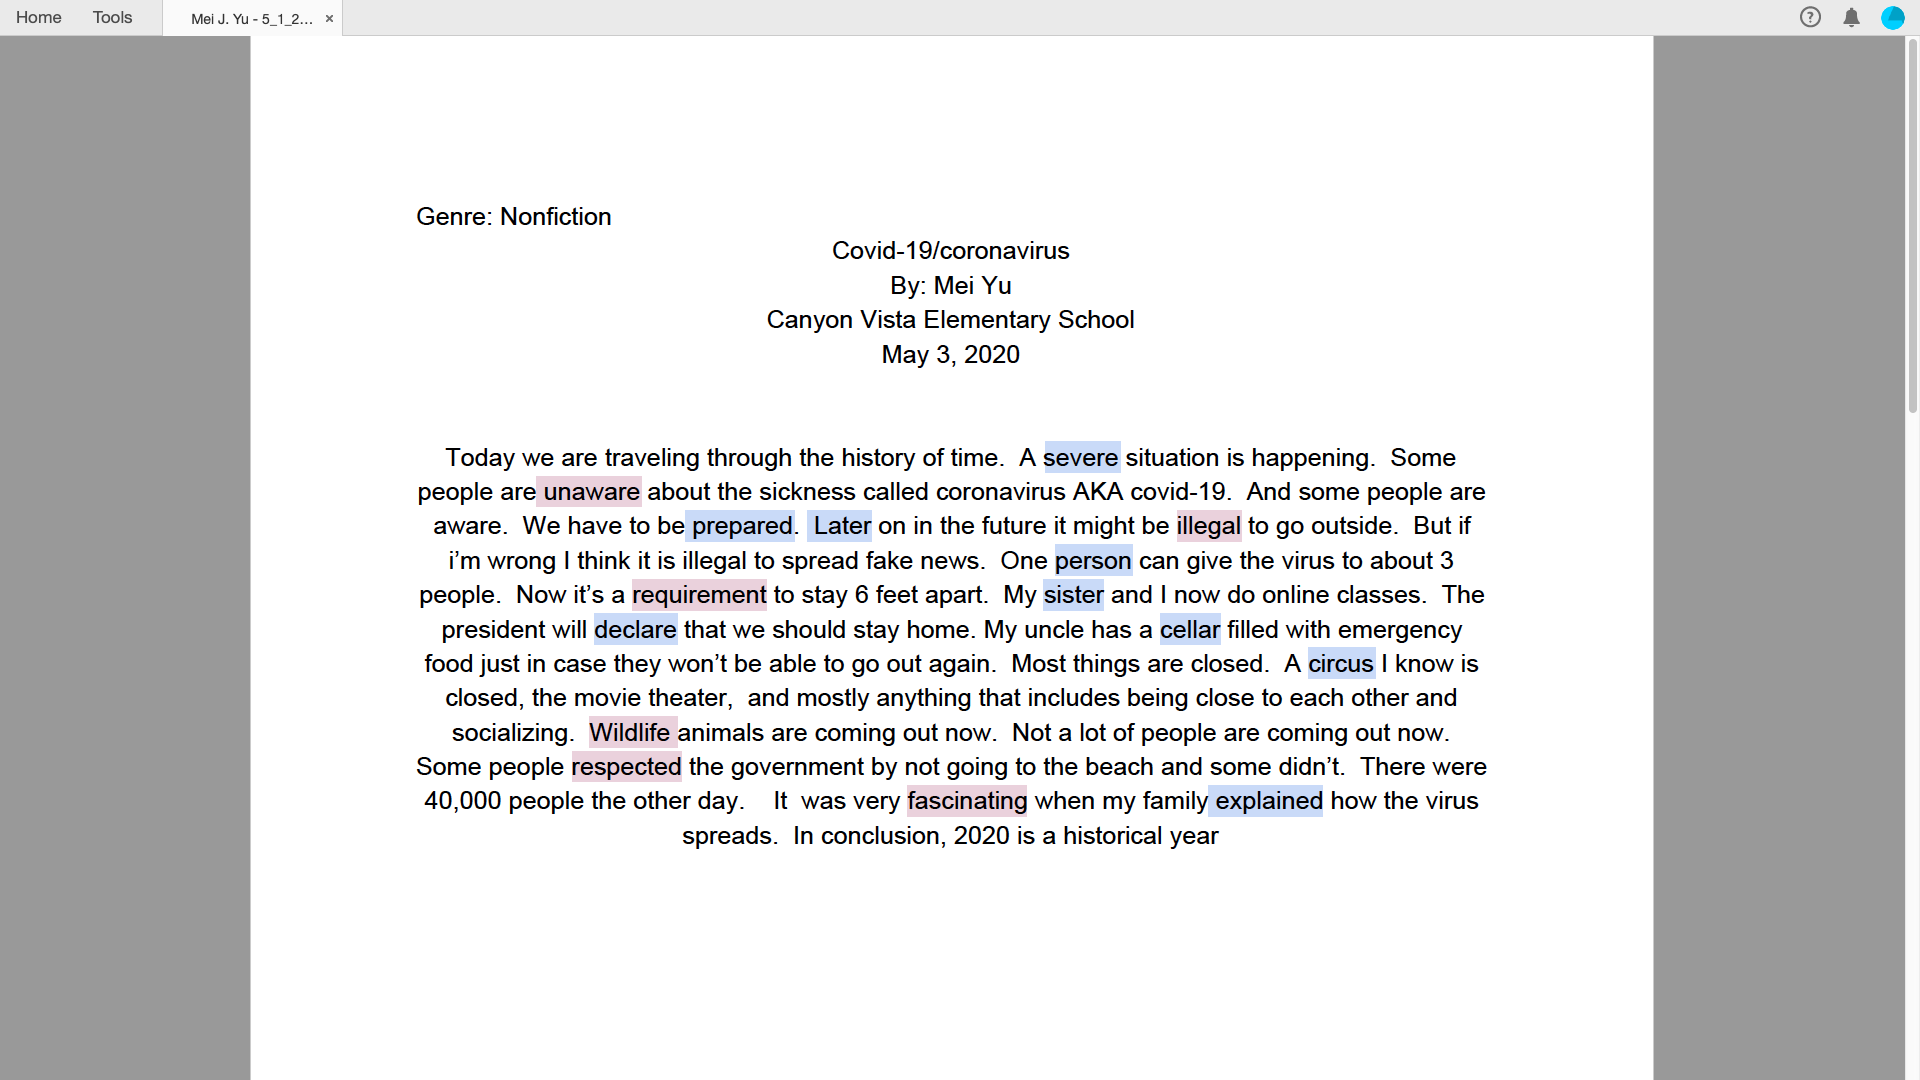
March 19, 2020 was when the stay-at-home order was announced in California. We are living a historical moment these days but what makes it more memorable for me was when I received a phone call from my 3rd Grade daughter’s teacher. They have been doing distance learning since the beginning of the quarantine and I was surprised how well our daughter understands what is historically happening during this 2020 COVID-19 Pandemic. We received praises from her teacher while she read Mei’s composition over the phone.
The children practice spelling words by using the words in sentences or stories. Here is what Mei wrote: